Pine cone Ink


I had intended to make a different ink for my second round of experiments, but I was out walking my dog and I came across a load of pine cone scattered on the ground so I decided to gather a bundle and see what would happen if I tried to make some ink out of them - and I think it’s a fitting way of continuing this journey of experimentation with natural colours - whatever I happen upon in abundance is fair game for an ink experiment!
I followed a similar recipe to the Avocado Ink I made previously so check back there for references to Soda Ash or anything else that isn’t fully explained here.
Pine Cone INK RECIPE
INGREDIENTS
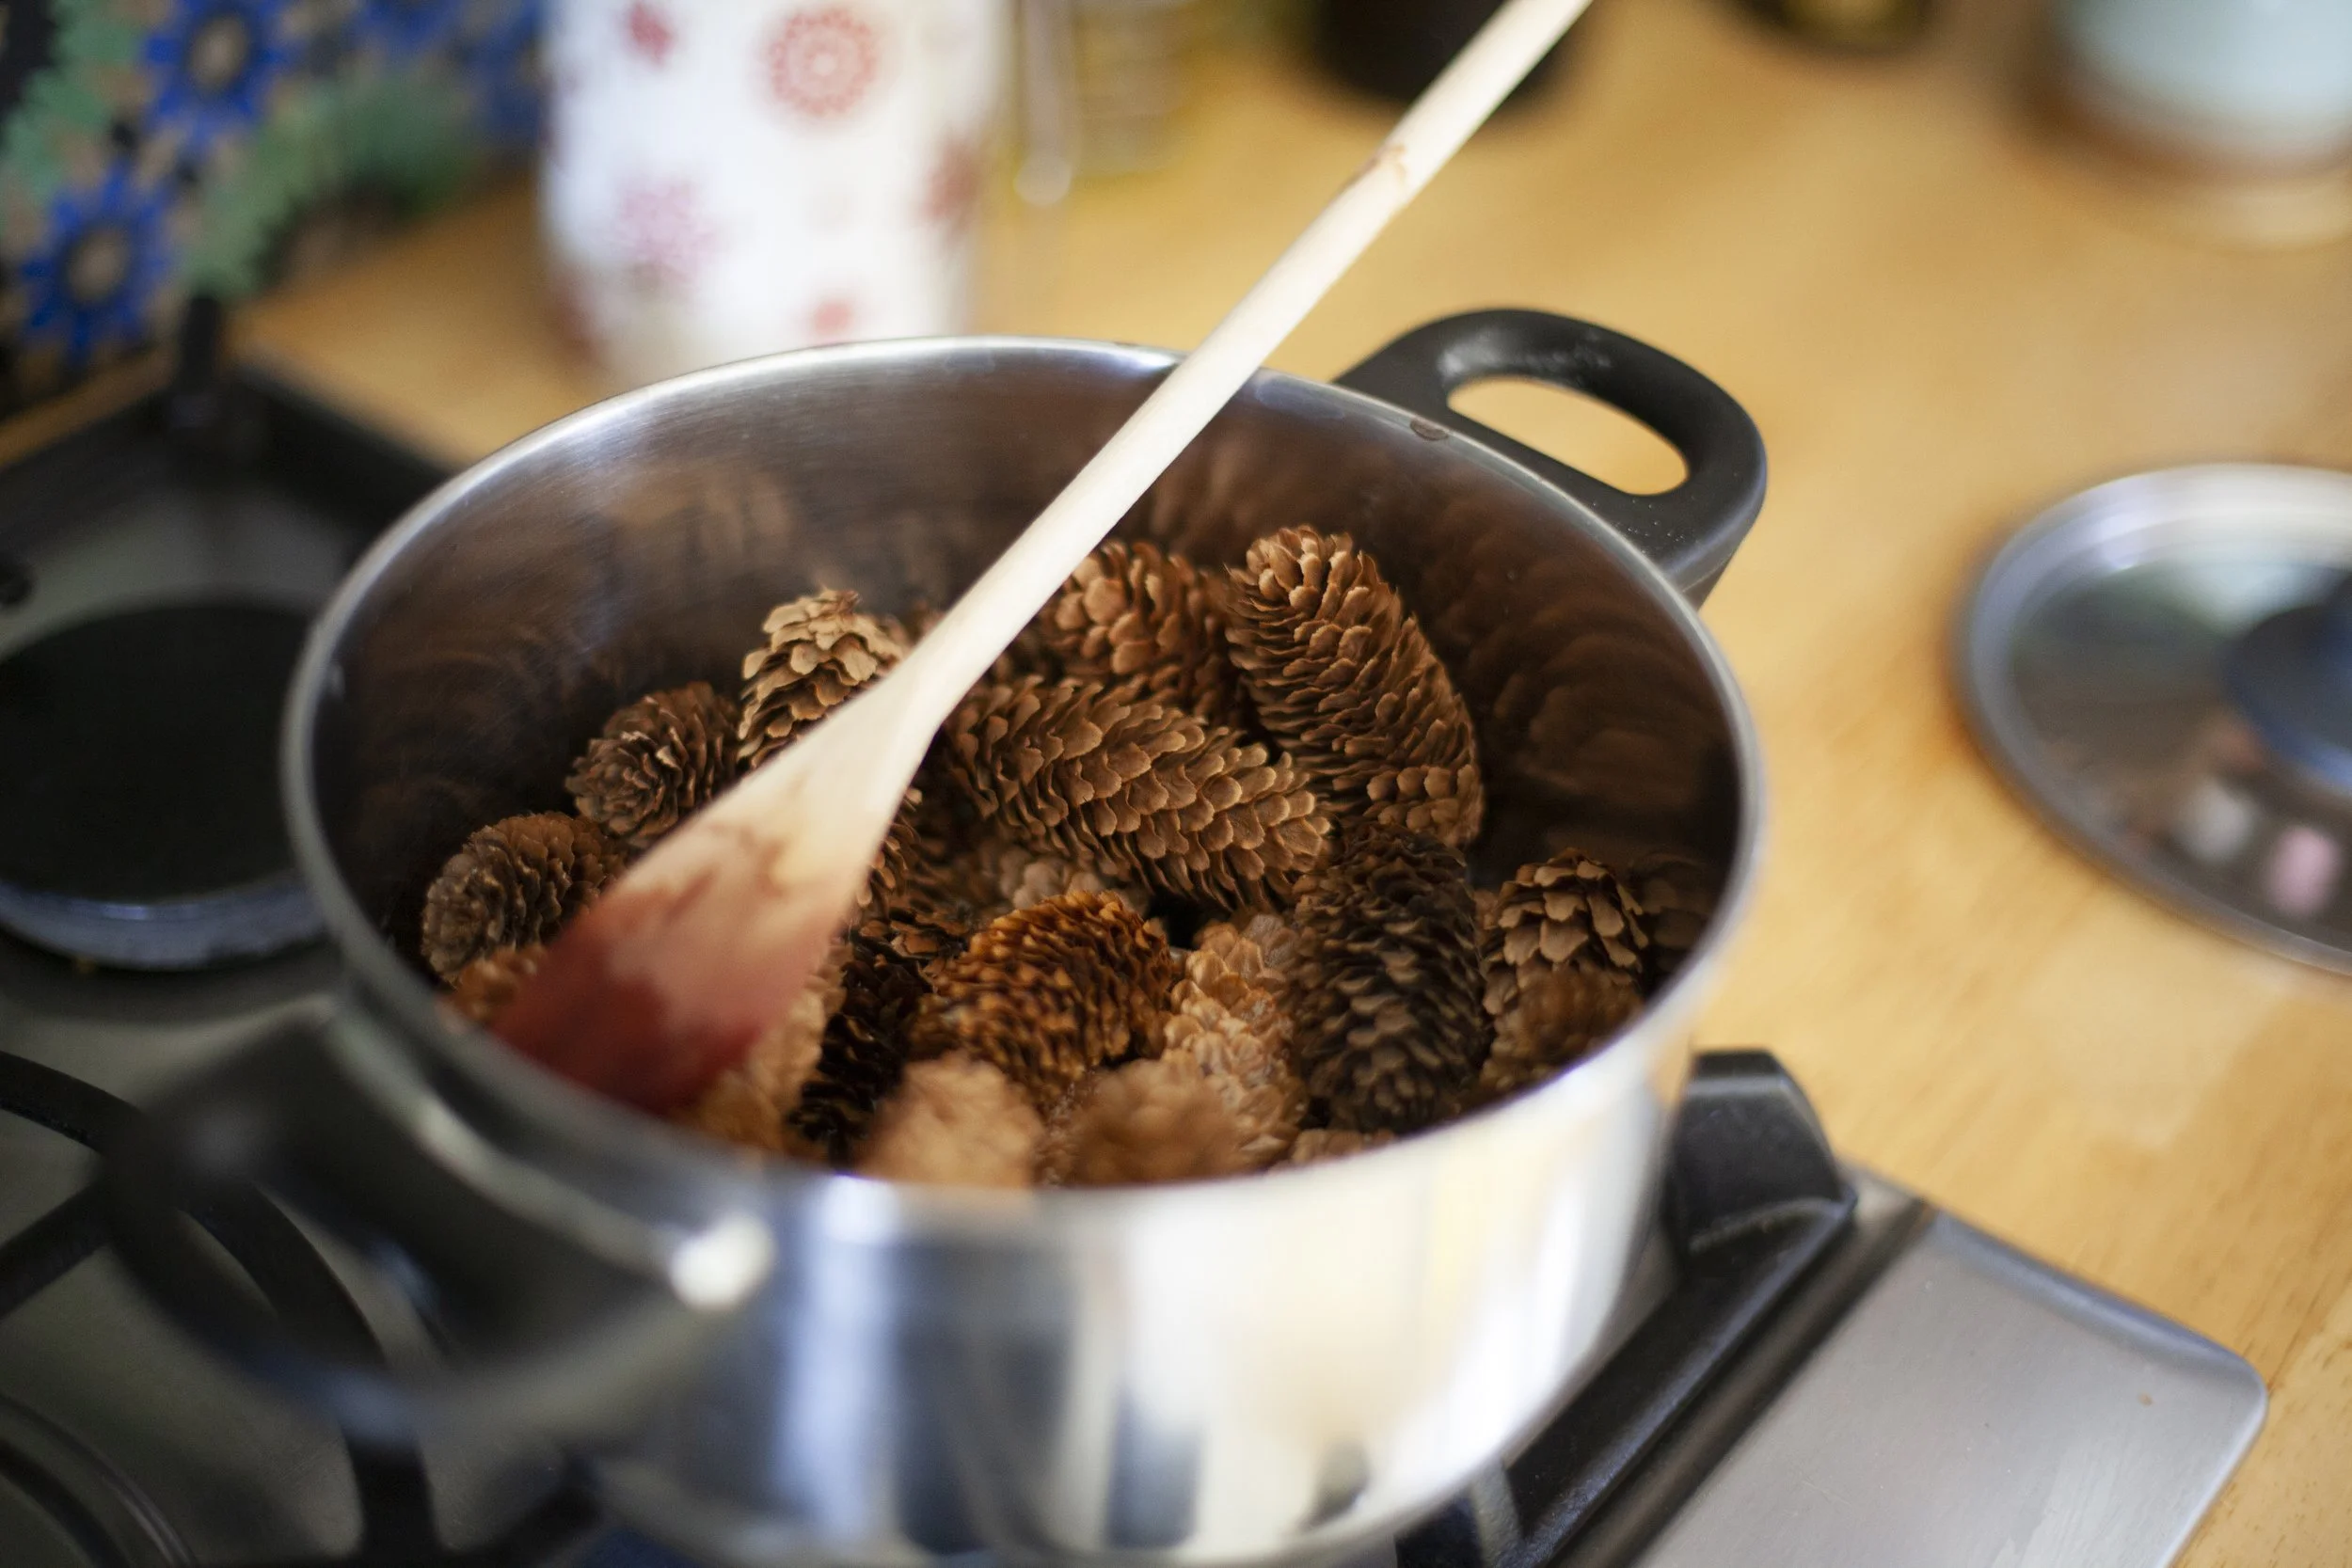
140g Pine Cones
480mm of filtered water
2 teaspoons (10ml) of Soda Ash
METHOD
Place all the ingredients in a stainless steel pot and bring to the boil and then reduce heat to simmer gently
Test the colour by dipping strips of paper in every 5 minutes
Take the pot off the heat once you are happy with the colour (Mine took 25 minutes)
Leave everything to soak and cool for at least an hour
Strain the mixture - first through a sieve and then through a coffee filter, muslin cloth or tights
Add about 10 drops of gum arabic (this depends on the volume of ink you have made)


Testing the Ink
I added some of the usual ingredients to test how the ink could change colour - lemon juice, vinegar, iron oxide and copper water.

I then went on to combine some of the Avocado Ink I had made previously with the Pine Cone Ink and some of the copper water to make some interesting marks and colour combinations to be used in pieces in the studio in the future - all part of the process!


